

Hey there! As a supplier of Brush Shower Heads, I'm super excited to share with you how to install a brush shower head on a wall - mounted shower system. It might seem a bit tricky at first, but trust me, it's a breeze once you get the hang of it.
First things first, let's gather all the tools you'll need. You'll need an adjustable wrench, a pair of pliers, Teflon tape, and of course, your brand - new Brush Shower Head. Make sure you've got everything within reach before you start, so you don't have to run around in the middle of the installation.
Now, turn off the water supply to your shower. You don't want a flood while you're working, right? Usually, there's a shut - off valve near the shower or in the basement. Just turn it clockwise until it stops. You can also test if the water is off by turning on the shower faucet. If no water comes out, you're good to go.
Next, take a look at your existing shower head. Use your adjustable wrench to loosen the connection between the shower arm (the pipe coming out of the wall) and the old shower head. Turn it counter - clockwise. Sometimes, the old shower head can be really stuck, so you might need to use a bit of force. If it's still not budging, you can use the pliers for extra grip, but be careful not to scratch the shower arm.
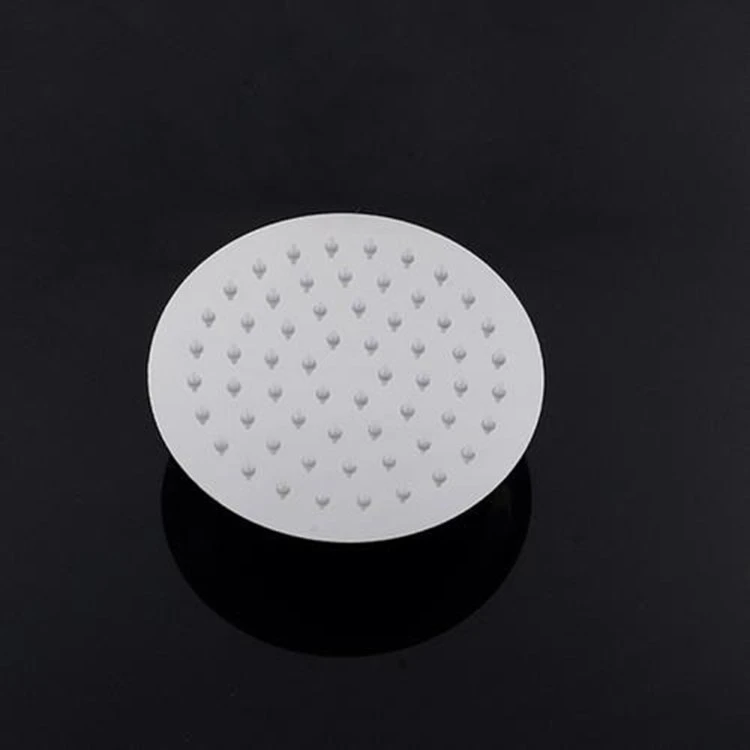

Once you've removed the old shower head, you'll see the end of the shower arm. This is where you'll install the new brush shower head. But before you do that, you need to clean the threads on the shower arm. Use a clean cloth to wipe away any dirt, debris, or old Teflon tape. A clean surface will ensure a good seal for your new shower head.
Now, it's time to apply the Teflon tape. Teflon tape is super important as it helps to create a watertight seal. Start at the end of the shower arm threads and wrap the tape around them in a clockwise direction. Make sure you wrap it tightly and evenly, about 3 - 4 times. You don't want to wrap it too loosely or too tightly. If it's too loose, it won't seal properly, and if it's too tight, it might be difficult to screw on the new shower head.
After applying the Teflon tape, it's time to install the brush shower head. Take your new Brush Shower Head and align it with the shower arm. Start screwing it on by hand, turning it clockwise. You'll feel it getting tighter as you go. Once you can't turn it by hand anymore, use the adjustable wrench to give it a final tightening. But don't over - tighten it, or you might damage the threads.
Now that the brush shower head is installed, it's time to turn the water back on. Go back to the shut - off valve and turn it counter - clockwise until it's fully open. Then, turn on the shower faucet to let the water run for a few minutes. Check for any leaks around the connection between the shower head and the shower arm. If you see any drips, you might need to tighten the connection a bit more with the adjustable wrench.
If everything looks good and there are no leaks, congratulations! You've successfully installed your new brush shower head. You can now enjoy a refreshing shower with your new Brush Shower Head.
At our company, we offer a wide range of brush shower heads, as well as other great options like the 12 Inch Round Shower Head and the 10 Round Shower Head. Our products are made of high - quality materials, ensuring durability and a great shower experience.
If you're interested in purchasing our shower heads for your home, hotel, or any other project, we'd love to talk to you. Whether you're a homeowner looking to upgrade your bathroom or a business owner in the hospitality industry, we've got the right shower head for you. Contact us to discuss your needs, and we can help you find the perfect shower head solution. We offer competitive prices and excellent customer service. So, don't hesitate to reach out and start your journey to a better shower experience.
References:
- General knowledge of plumbing and shower head installation.
- Experience as a Brush Shower Head supplier.