

Installing a shower caddy in an outdoor shower can significantly enhance your bathing experience. As a leading outdoor shower supplier, I've seen firsthand how a well - placed shower caddy can transform an ordinary outdoor shower into a functional and organized space. In this guide, I'll walk you through the step - by - step process of installing a shower caddy in an outdoor shower.
Step 1: Choose the Right Shower Caddy
The first step is to select a shower caddy that suits your needs and the conditions of your outdoor shower. Outdoor showers are exposed to the elements, so you need a caddy that is made of durable materials. Look for caddies made of stainless steel, resin, or weather - resistant plastic. These materials can withstand rain, sunlight, and temperature changes without rusting or deteriorating.
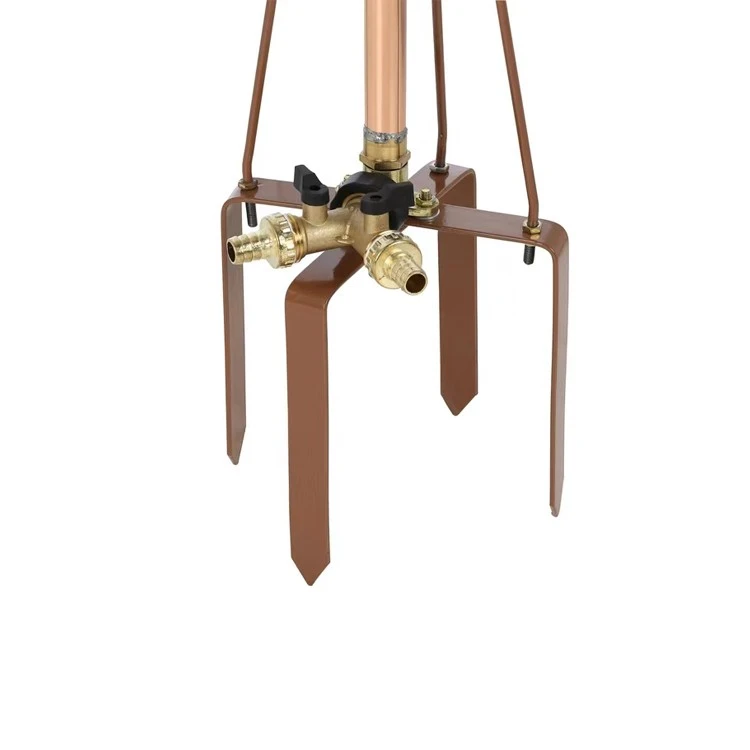

Consider the size of the caddy as well. If you have a small outdoor shower, a compact caddy with multiple tiers might be the best option to maximize space. On the other hand, if you have a larger shower area, you can opt for a bigger caddy with more compartments to hold all your shower essentials. Some caddies come with hooks for hanging towels or loofahs, which is a great added feature.
Step 2: Prepare Your Outdoor Shower
Before you start the installation, make sure your outdoor shower is clean and dry. Remove any dirt, debris, or soap scum from the area where you plan to install the caddy. You can use a mild soap and water solution to clean the surface, followed by a thorough rinse and dry.
If your outdoor shower has a tile or stone wall, check for any loose tiles or cracks. Repair them before installing the caddy to ensure a secure mounting. If you have a freestanding outdoor shower, like our Freestanding Garden Shower, make sure it is stable and properly assembled.
Step 3: Decide on the Location
The location of your shower caddy is crucial for its functionality. You want to place it at a height that is comfortable for you to reach. A general rule of thumb is to install the caddy at waist - to - shoulder height. This way, you can easily access your shampoo, conditioner, soap, and other shower items without having to bend down or stretch too far.
Also, consider the layout of your outdoor shower. If you have a showerhead on one side, you might want to install the caddy on the opposite side or at a sidewall for easy access. Make sure the location is away from direct water spray to prevent your items from getting wet unnecessarily.
Step 4: Mark the Mounting Points
Once you've decided on the location, use a pencil or a marker to mark the mounting points on the wall. If your caddy comes with a template, place it on the wall and trace the holes. This will ensure accurate placement of the screws or anchors.
If you're installing the caddy on a tile or stone wall, it's recommended to use a tile drill bit to make the holes. For a plastic or metal wall, a regular drill bit should suffice. Before drilling, make sure to measure the depth of the holes according to the length of the screws or anchors provided with the caddy.
Step 5: Drill the Holes
Put on safety goggles to protect your eyes from debris. If you're using a drill, start with a small pilot hole to guide the larger drill bit. Slowly drill into the marked points, applying gentle pressure. If you're drilling into a tile or stone wall, drill at a slow speed to avoid cracking the tile.
Once you've drilled the holes, use a vacuum or a brush to remove any dust or debris from the holes. This will ensure a better fit for the screws or anchors.
Step 6: Insert the Anchors (if necessary)
If your outdoor shower wall is made of a soft material like drywall or if you want extra support, you may need to insert wall anchors. Insert the anchors into the drilled holes until they are flush with the wall surface. You can use a hammer to gently tap the anchors into place if needed.
Step 7: Attach the Shower Caddy
Align the caddy with the marked holes on the wall. Insert the screws through the holes in the caddy and into the wall or the anchors. Use a screwdriver or a drill with a screwdriver bit to tighten the screws. Make sure the caddy is level as you tighten the screws. You can use a spirit level to check the alignment.
Tighten the screws firmly, but be careful not to overtighten as this could damage the caddy or the wall. Once all the screws are tightened, give the caddy a gentle tug to make sure it is securely attached.
Step 8: Test the Shower Caddy
After installation, it's time to test the caddy. Place some of your shower items in the compartments and see how it holds up. Check if the caddy is stable and if you can easily access your items. If there are any loose parts or if the caddy seems wobbly, tighten the screws a bit more.
Step 9: Maintenance Tips
To keep your shower caddy in good condition, regularly clean it with a mild soap and water solution. This will prevent the buildup of soap scum and dirt. If your caddy is made of stainless steel, you can use a stainless - steel cleaner to keep it looking shiny.
Inspect the caddy and the mounting points periodically for any signs of wear or damage. Replace any worn - out screws or anchors to ensure the caddy remains securely attached.
In conclusion, installing a shower caddy in an outdoor shower is a relatively simple process that can greatly improve the functionality of your outdoor bathing area. By following these steps, you can enjoy a more organized and convenient shower experience.
If you're in the market for an outdoor shower or looking to upgrade your existing one, we are here to help. As a trusted outdoor shower supplier, we offer a wide range of high - quality outdoor showers and accessories. Whether you need a freestanding garden shower or a wall - mounted option, we have the products to meet your needs. Contact us today to discuss your requirements and start your journey towards a perfect outdoor shower setup.
References
- Home Improvement Guides for Outdoor Spaces, various editions
- Manufacturer's instructions for shower caddies and outdoor showers