

Installing a shower enclosure door stop is a relatively straightforward yet crucial task that can significantly enhance the functionality and safety of your shower space. As a seasoned shower enclosure supplier, I've witnessed firsthand how a properly installed door stop can prevent unnecessary wear and tear on the shower door, as well as provide a more secure and comfortable showering experience. In this blog post, I'll guide you through the step-by-step process of installing a shower enclosure door stop, sharing valuable insights and tips along the way.
Understanding the Importance of a Shower Enclosure Door Stop
Before diving into the installation process, it's essential to understand why a door stop is so important for your shower enclosure. A door stop serves several key functions:

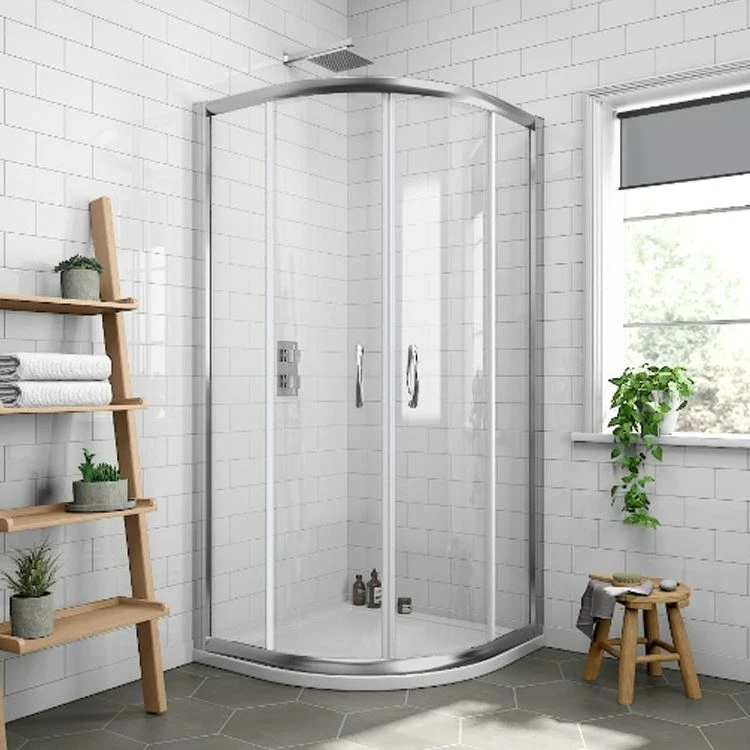
- Prevents Damage: By limiting the door's movement, a door stop helps prevent the door from hitting the wall or other parts of the shower enclosure, reducing the risk of damage to the glass, frame, or hardware.
- Enhances Safety: A properly installed door stop ensures that the shower door stays in place, preventing it from accidentally swinging open and causing injury.
- Improves Functionality: A door stop can also improve the overall functionality of the shower door by providing a smooth and controlled opening and closing motion.
Tools and Materials You'll Need
To install a shower enclosure door stop, you'll need the following tools and materials:
- Screwdriver: Depending on the type of door stop you're installing, you may need a Phillips or flathead screwdriver.
- Measuring Tape: A measuring tape will help you ensure that the door stop is installed in the correct position.
- Level: A level will help you ensure that the door stop is installed straight and level.
- Drill: If your door stop requires drilling, you'll need a drill with the appropriate drill bit.
- Door Stop: There are several types of door stops available, including magnetic, rubber, and adjustable door stops. Choose the type that best suits your needs and the design of your shower enclosure.
Step-by-Step Installation Guide
Now that you have all the necessary tools and materials, it's time to start installing the shower enclosure door stop. Follow these steps for a successful installation:
Step 1: Choose the Right Location
The first step in installing a door stop is to choose the right location. The door stop should be installed in a position that allows the door to open and close smoothly while preventing it from hitting the wall or other parts of the shower enclosure. Typically, the door stop is installed on the wall or frame near the top or bottom of the door.
Use a measuring tape to measure the distance from the edge of the door to the wall or frame where you want to install the door stop. Mark the location with a pencil.
Step 2: Prepare the Surface
Before installing the door stop, you'll need to prepare the surface where it will be installed. If you're installing the door stop on a wall, make sure the surface is clean and free of dirt, dust, and debris. If you're installing the door stop on a frame, make sure the frame is in good condition and free of any damage.
If your door stop requires drilling, use a drill to create pilot holes at the marked locations. Make sure the pilot holes are the same size as the screws that came with the door stop.
Step 3: Install the Door Stop
Once the surface is prepared, it's time to install the door stop. Place the door stop over the pilot holes and align it with the markings on the wall or frame. Use a screwdriver to insert the screws through the holes in the door stop and into the pilot holes. Tighten the screws until the door stop is securely attached to the wall or frame.
If you're installing a magnetic door stop, follow the manufacturer's instructions for installing the magnet and the strike plate. Make sure the magnet and the strike plate are aligned correctly for proper operation.
Step 4: Test the Door Stop
After installing the door stop, test it to make sure it's working properly. Open and close the shower door several times to ensure that the door stop is preventing the door from hitting the wall or other parts of the shower enclosure. If the door stop is not working properly, adjust its position or tighten the screws as needed.
Tips and Tricks for a Successful Installation
- Choose the Right Type of Door Stop: There are several types of door stops available, each with its own advantages and disadvantages. Choose the type of door stop that best suits your needs and the design of your shower enclosure.
- Follow the Manufacturer's Instructions: Always follow the manufacturer's instructions when installing a door stop. This will ensure that the door stop is installed correctly and safely.
- Use the Right Tools: Using the right tools for the job will make the installation process easier and more efficient. Make sure you have all the necessary tools before you start the installation.
- Take Your Time: Installing a door stop is a relatively simple task, but it's important to take your time and do it right. Rushing the installation process can lead to mistakes and a poorly functioning door stop.
Conclusion
Installing a shower enclosure door stop is a simple yet important task that can enhance the functionality and safety of your shower space. By following the steps outlined in this blog post and using the tips and tricks provided, you can install a door stop that will provide years of reliable service.
As a shower enclosure supplier, I'm committed to providing high-quality products and excellent customer service. If you have any questions or need assistance with installing a shower enclosure door stop, please don't hesitate to [contact us for procurement and negotiation]. We offer a wide range of Tempered Glass Enclosure and Curved Glass Shower Door options to suit your needs and style.
References
- "Shower Enclosure Installation Guide," Home Depot.
- "How to Install a Door Stop," Lowe's.
- "Types of Door Stops and Their Uses," Bob Vila.